Although borescope technology has been around for quite some time, more and more people are realizing its potential and use videoscopes to perform their complicated everyday tasks much more easily.
Although you might see a videoscope being used in a spy movie for delicate surveillance purposes, it might be used for other sensitive procedures making numerous difficult crafts a bit easier. Although its use is not that complicated, there are certain procedures you should follow in order to use the device appropriately. Thus, read through the following lines and learn how to use your videoscope correctly in 9 easy steps.
Take the Equipment out of the Case
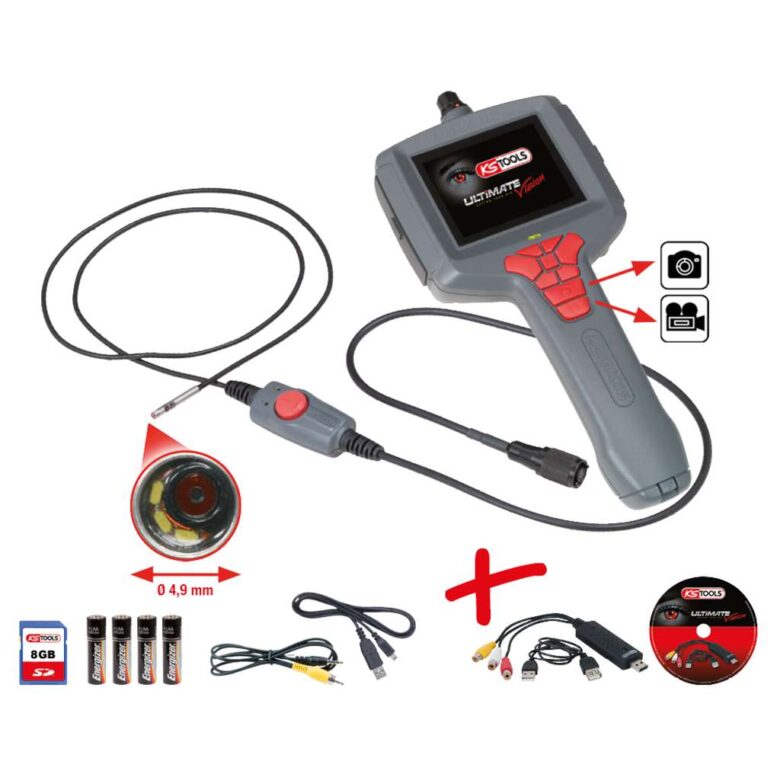
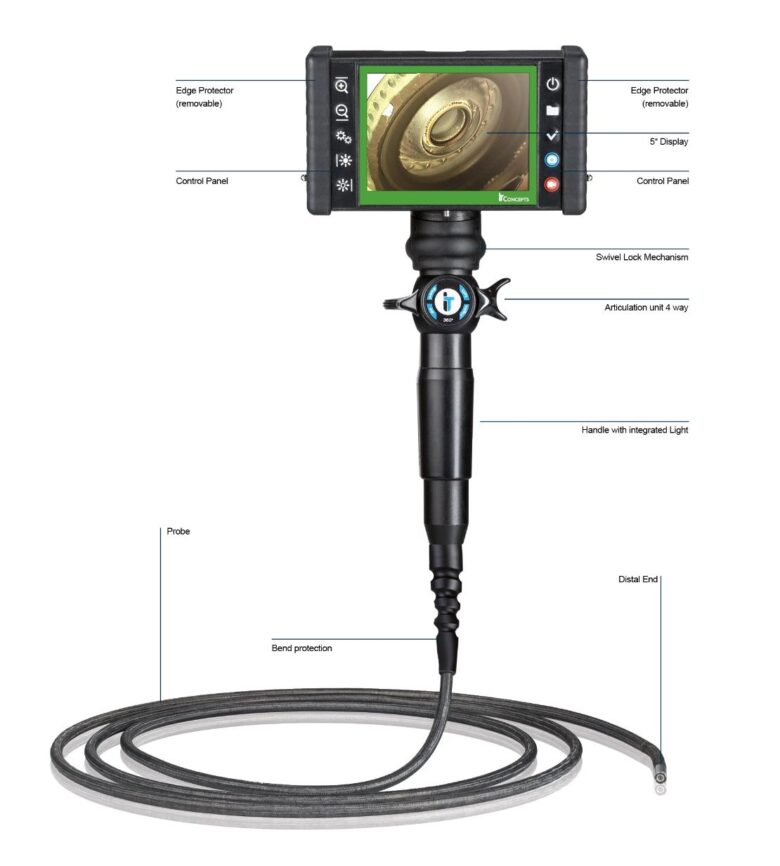
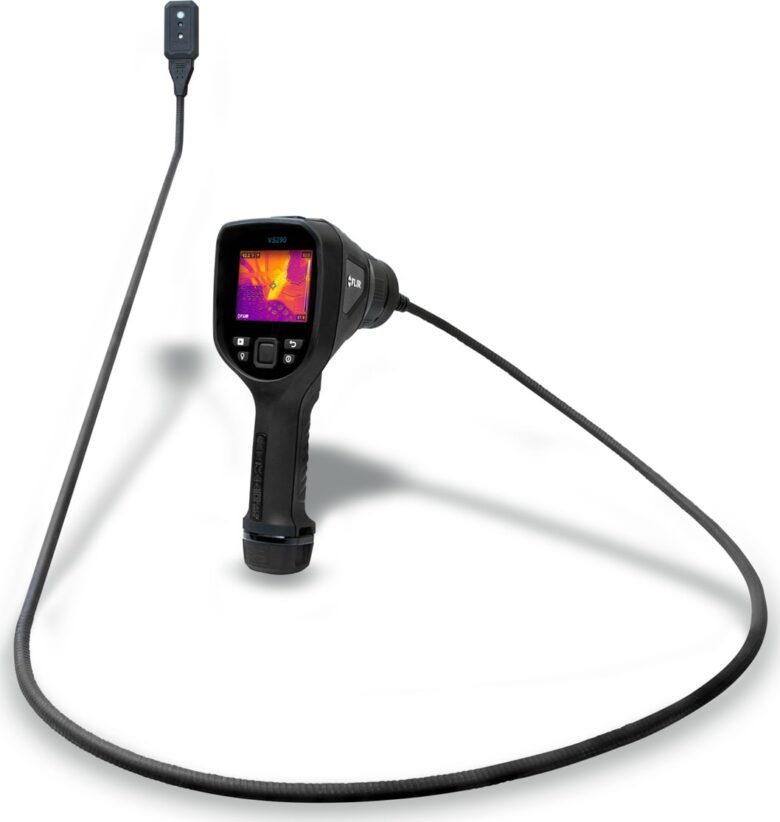
First, you need to take the equipment out of the protective case which comes with the device. It is of utter importance to carefully handle the parts, especially the cable camera, because of its delicate structure and gentle composition which could get damaged if not handled with care. The most sophisticated part of the cable is its mere end where the movable lens is located and no matter how tempting it might seem, do try not to move it mechanically but solely via the controller.
Charging
Your videoscope draws its energy from a removable battery, so before you start your device, you should make sure that its power source is fully charged. To charge the battery, you would need to turn the device off, otherwise, the cell would not be able to completely charge its capacities. Afterward, simply connect the device with AC power as you would do with your mobile device charger. Because the battery is removable, you can obtain additional cells to secure you have enough energy for longer procedures. Considering that one battery should provide you with about 4 hours of active usage, more than one additional battery would probably be sufficient.
Memory
After you have secured the power source of your new videoscope, it should be appropriate to make it capable of memorizing things you intend on recording later on. Jokes aside, but what you should do next is place the memory card inside a particular interface. Depending on the model, you will be provided with an SD memory card with a particular storage capacity so you can either use multiple cards or opt for a high-capacity storage unit.
Powering Up
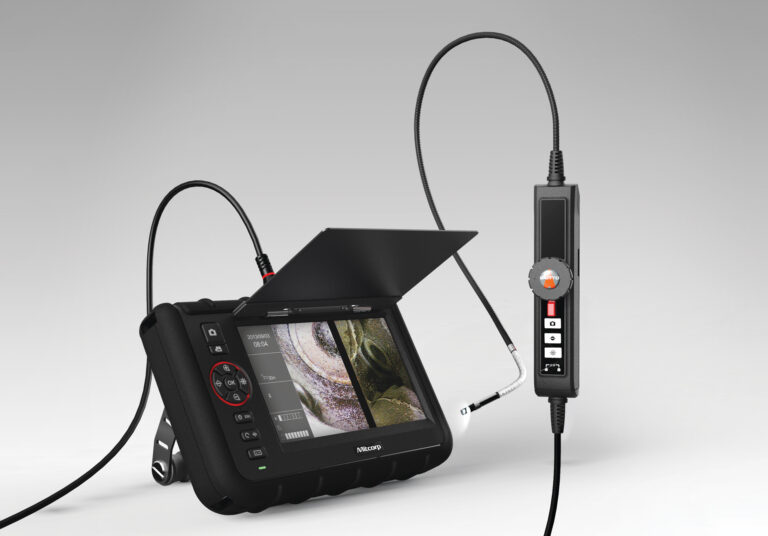
What you should do after the basic steps are covered is to turn the device on. Without further delay, you should press the power button so your videoscope becomes operational. In order to use it most efficiently, you should adjust your grip and fasten the Velcro belt attached to the handle of the videoscope so you could use the device without fear of dropping this magnificent piece of modern engineering to the ground.
Move it Around
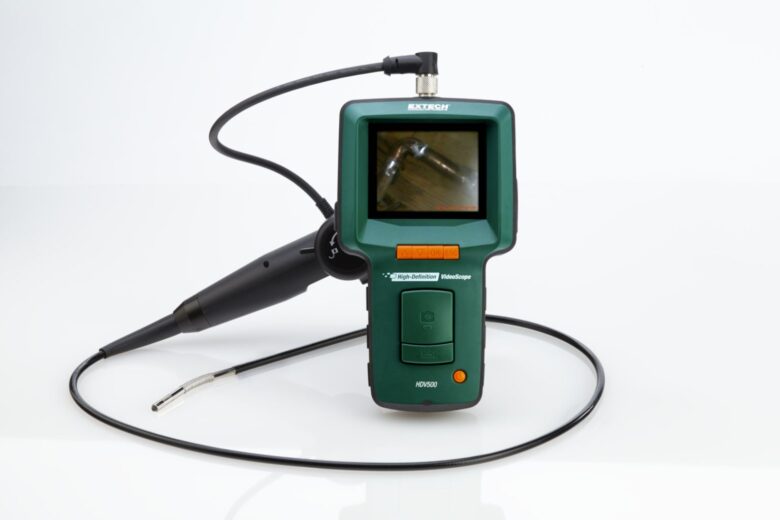
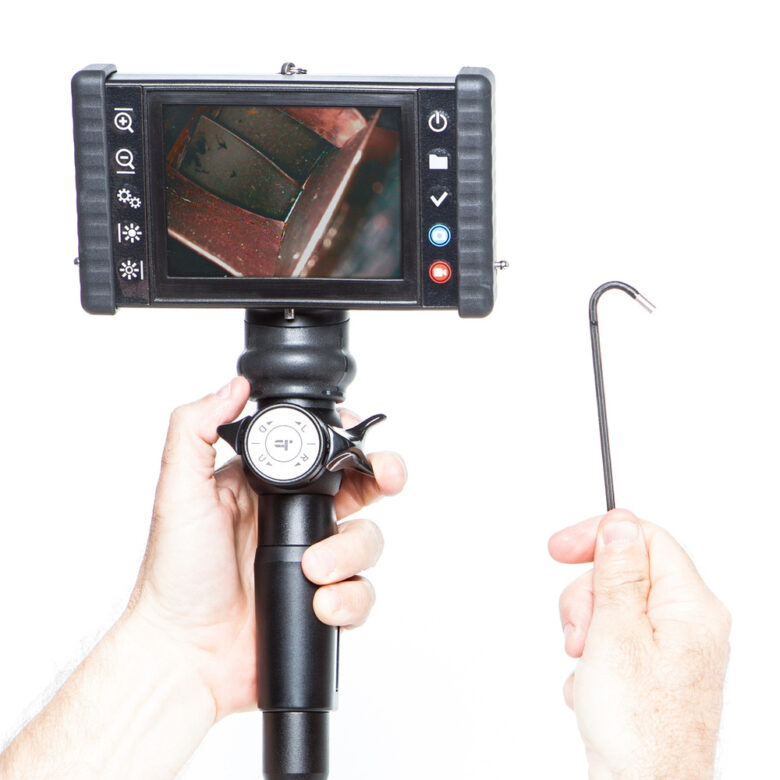
Once you attach the videoscope to your hand, you should check how the video cable reacts to your controls. Although at the first glance it might seem it does not do much, seeing it at work would change your first impression in no time. Namely, the point of a videoscope is to provide you with visual access to otherwise inaccessible areas. In that way, you can have an insight into particular segments of an object you could only approach by disassembling it if there were not for videoscope. If you are interested in additional info about videoscopes and similar devices that enable you to access tight spaces feel free to check this and see how it works for you. In most cases, your device should provide you with full 360 degrees approach to the surroundings of the video cable.
Image and Video
Apart from the controller, your videoscope has a control switch that should be located behind the screen, positioned to meet your index finger which you should use for activation. Surely, there are models with additional buttons which are positioned right below the screen. Depending on the model, you can switch from capturing the desired image, video recording, zooming in and out, and mirroring the image you want to observe. Apart from regular images, certain models give you the ability to use infrared and negative filters to perceive different aspects of the same object that would otherwise remain undetected.
Brightness Level
When you gain access to areas that are otherwise almost impossible to be approached, you will be amazed by the arsenal a videoscope has to offer. Namely, you cannot expect the hardly reachable areas to be illuminated by themselves, so videoscope regulates the lighting for you. What is your part of the job is to adjust brightness levels according to your wants and needs, and you should take care of it either by using buttons under the screen designed for that purpose or by manipulating the lights via touch screen, depending on the model. You can also use your touch screen to review the selected images and rename them so you can distinguish them later, but also you might want to check additional features provided in the menu.
Connection to other Appliances
In order not to take out your SD card from the device frequently, therefore, to prolong its lifespan, you might want to use additional means of data transfer and connect your videoscope to a PC or any other device that could receive data via the standard USB connector. All you have to do is connect the cable and watch the pictures and videos you have made in better resolution.
Finishing
We have already mentioned earlier that you should be extra careful with both handling and maintaining your videoscope, therefore, putting it away in a protective box right after the usage is what you should pay additional attention to, so your videoscope would last and serve you well in the future.
Hopefully, you will be satisfied with your new videoscope and will be using it with ease after reading this article. We reckon you will get used to using the device as soon as you turn it on, and we certainly hope that the aforementioned pieces of advice will come in handy on first use. One way or another, the fact that you will enjoy using it is out of any discussion.